
Streaming Services.
October 2025. v4.0
Here’s what you need to know to get streaming services.
Set up live streaming
Turn on the cameras using the camera controller pictured below.
Press the menu button (labelled yellow), then press number 8 (the camera menu button – labelled orange). To navigate the camera menu you will need to use the F1 and F2 dials (labelled green, with F1 above and F2 below). By rotating F1 you will scroll through the top row of the screen, pressing it down means you select that and enter the secondary menu. By rotating F2 you will change the bottom row, pressing it down means that you enact the action. We promise this sounds more complicated than it really is!
The top row needs to read POWER (you may need to rotate through this menu by using the F1 dial) and then press in the F1 dial – it should now read CAM POWER. Then make sure the bottom row reads ALL ON (you may need to rotate through this menu by using the F2 dial). Press the F2 dial in to turn the cameras on.There will be a delay where the cameras turn on - the lights on the camera controller will turn green, as will the lights on the cameras.
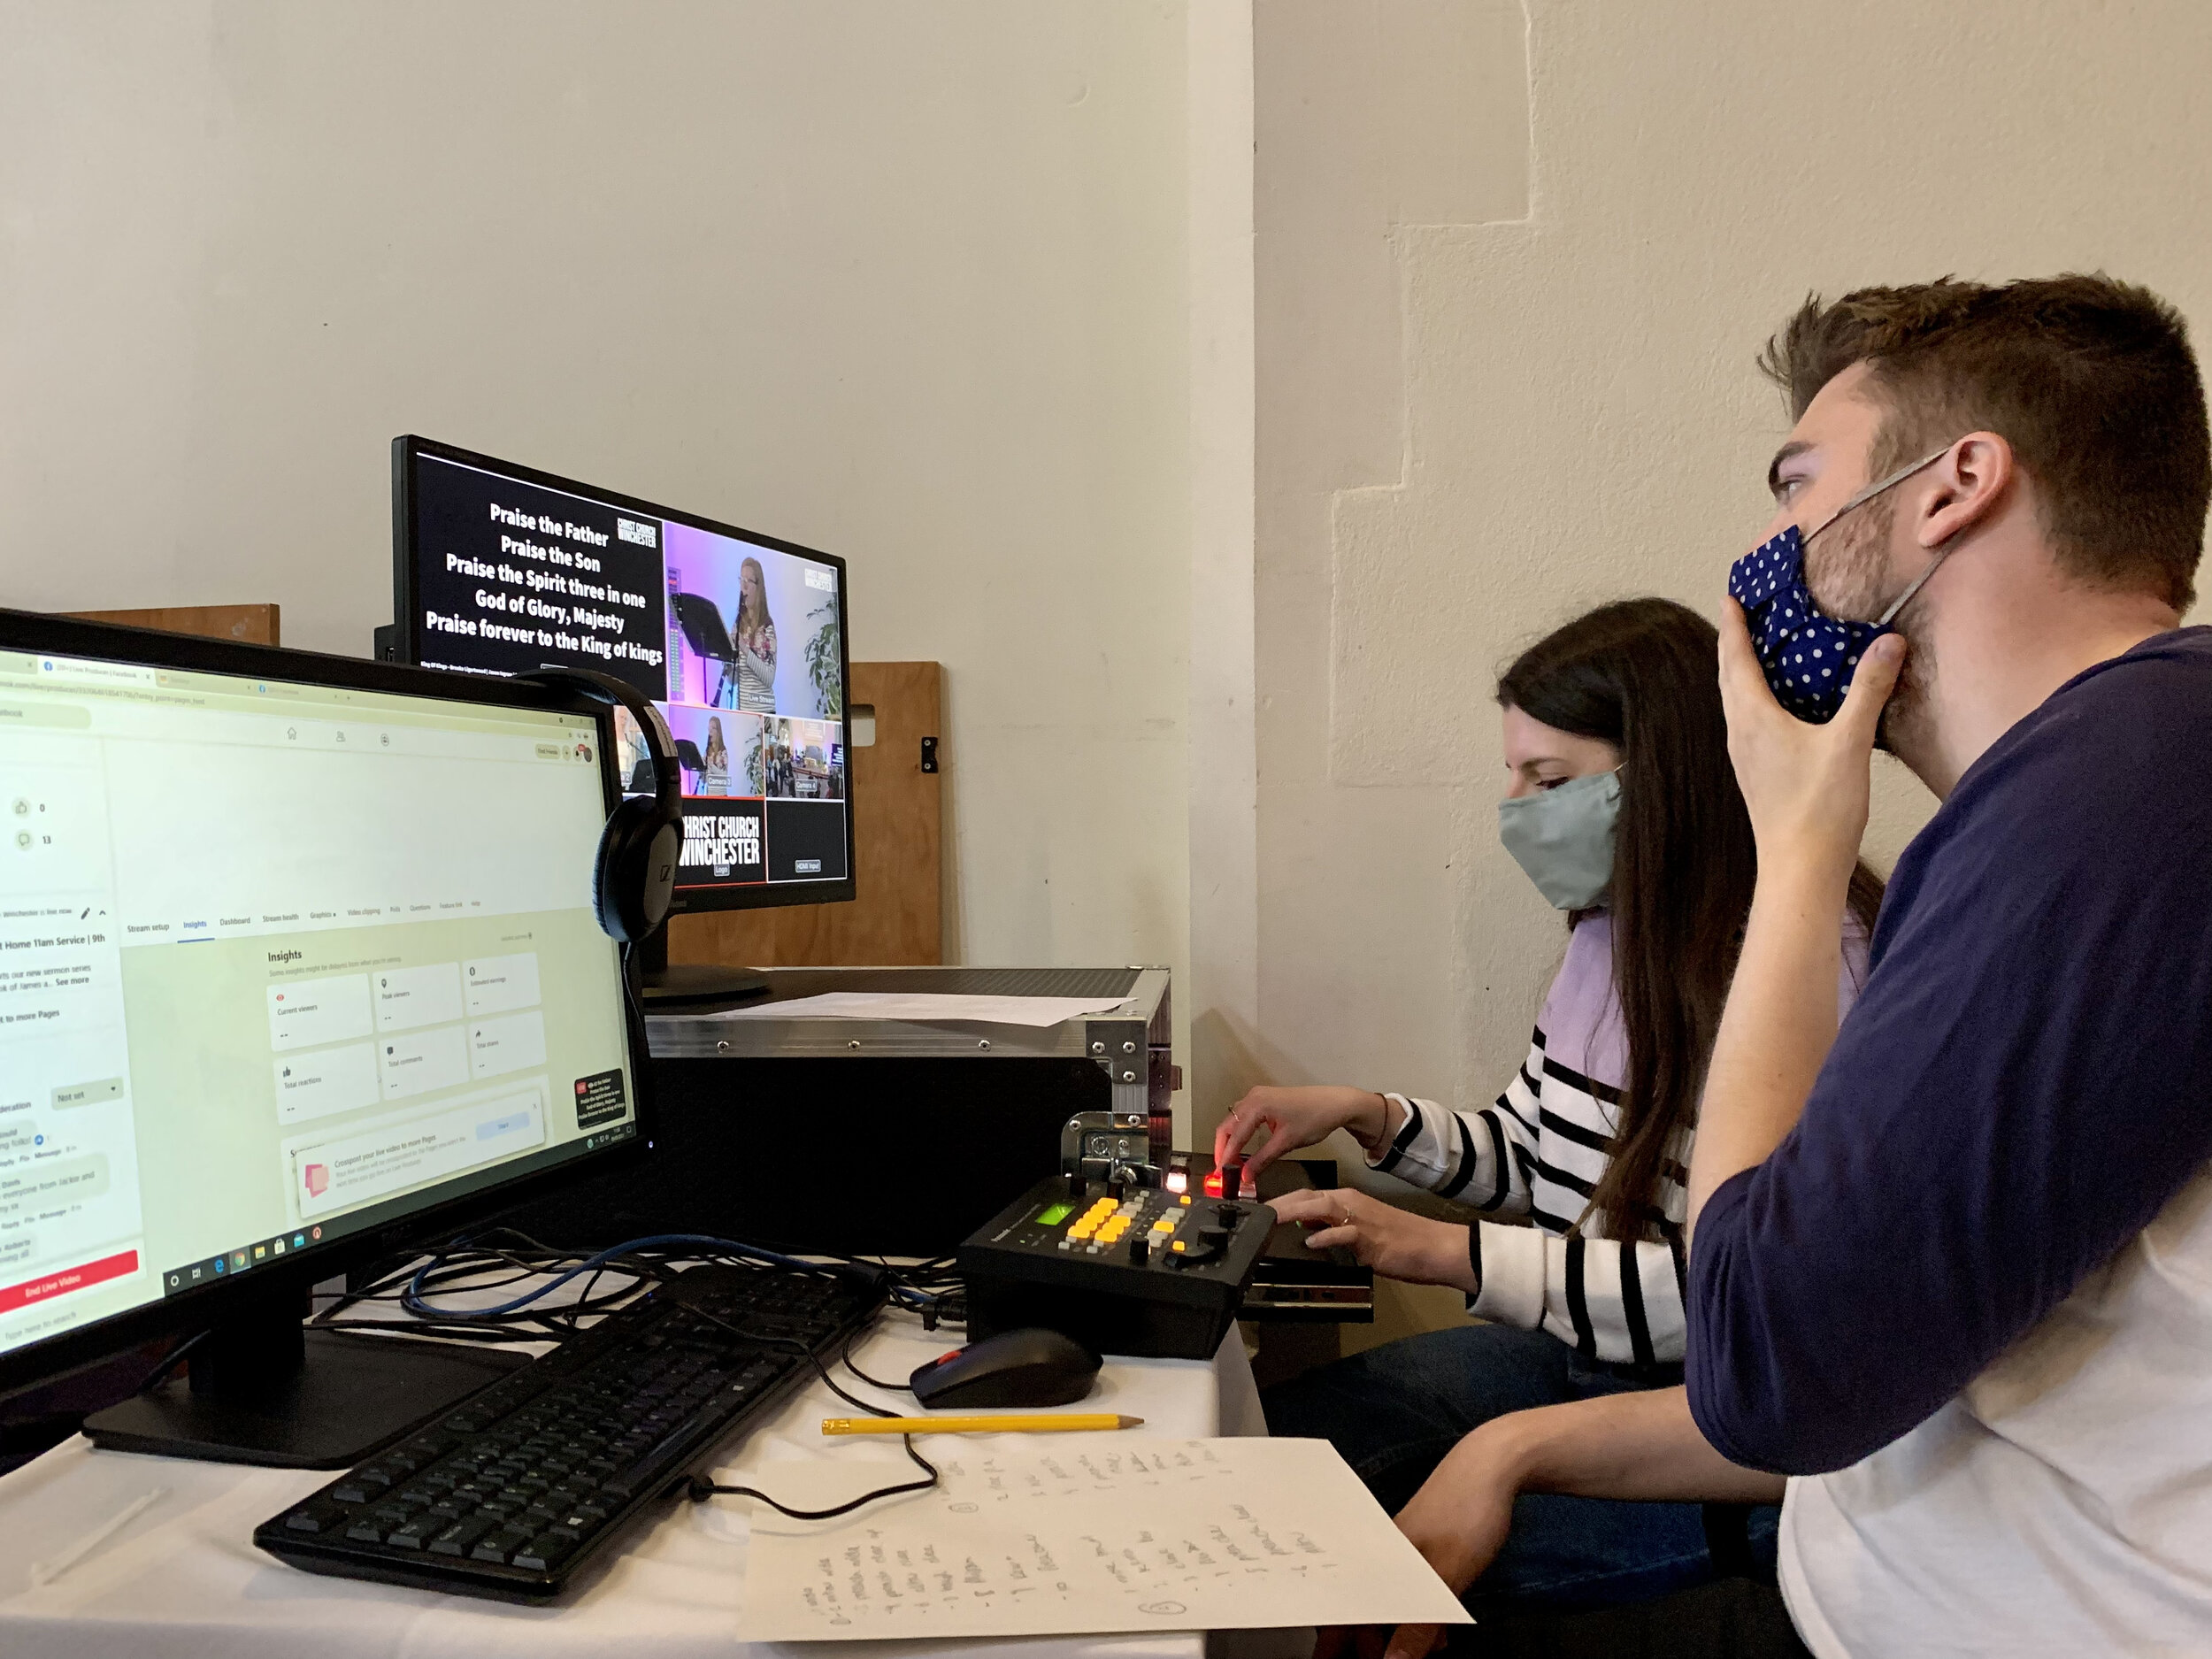
Check the cameras are displaying correctly on the multiview monitor. If not, power them off and back on again.
Log into the PC using the given name and password.
Check that the song words appear correctly. If not, follow these steps in the tech notes.
Now follow the detailed instructions below to start the stream.
Start the stream
We go live 5 minutes before the service, when the countdown appears on the screens in the building. To get ready for this, follow the instructions below ahead of time. Please talk with the AV volunteer to minimise the delay in going live.
Ensure the red “STREAM” light is lit up on the encoder (the top unit in the cage under the live streaming section of the tech desk).

2. On the streaming PC, open up Google Chrome by double-clicking its icon. The click on the YouTube icon shown below.

3. Click on “Your videos” on the left of the YouTube page. (Warning: if you make the Chrome window too narrow, the menu on the left disappears.)

4. Click on the “Live” tab to see streams planned for the future.

5. Sort the live streams by date, by clicking on “Date” at the top of the date column. This should bring the service you are about to stream to the top of the list.

6. Hover the mouse over the stream of the upcoming service and click on the icon entitled “View in Live Control Room”.
If you can’t see the upcoming service in the list, there may be more services than will fit on a single page and you’ll need to move to another page (using the page controls under the last item of the list on the right, starting with “Rows per page:“).
If the “View in Live Control Room“ icon is not present, check that the stream is “scheduled” (in the date column). If the stream is “streamed”, you won’t be able to stream it again and a new stream will need to be scheduled.

7. You should now see the current live stream in the preview window. At 5 minutes to the hour, click “GO LIVE”. (If you don’t see the current live stream, check the encoder “streaming” red light is lit up, as described above.)

8. Start the Slack application and go to the #service_ops channel. Use this to chat with others involved in the service. Introduce yourselves and keep an eye on the channel, especially during the early part of the service, in case there are issues with the live stream.
9. Turn on the “scope” (the small screen) using the button on the right at the top and use the headphones to check the audio of the live stream sounds ok.
Stop the stream
At the end of the service, use the ATEM switcher to select the AV desk which should be displaying a slide saying “Christ Church Winchester. Thank you for joining us, see you next week”. After a few seconds, go to the YouTube tab of Chrome on the streaming PC and click “Stop streaming”.
Set down
Turn off the cameras first (as above).
Shut down the streaming PC (select the “Start” button, select the power button icon, and then select “Shut down“).
Turn off the whole tech desk using the white switch under the desk on the left, but please wait until the AV computer and the sound desk have also been shut down.
Congratulate yourself. You’ve done brilliantly.
Live Streaming Notes
As live streaming here at Christ Church is complicated, we have captured extra information. Click the button below to read some notes. These are extra details and you don’t need to know them to stream a service here, but they contain useful reference information such as helpful tips and problem solutions.